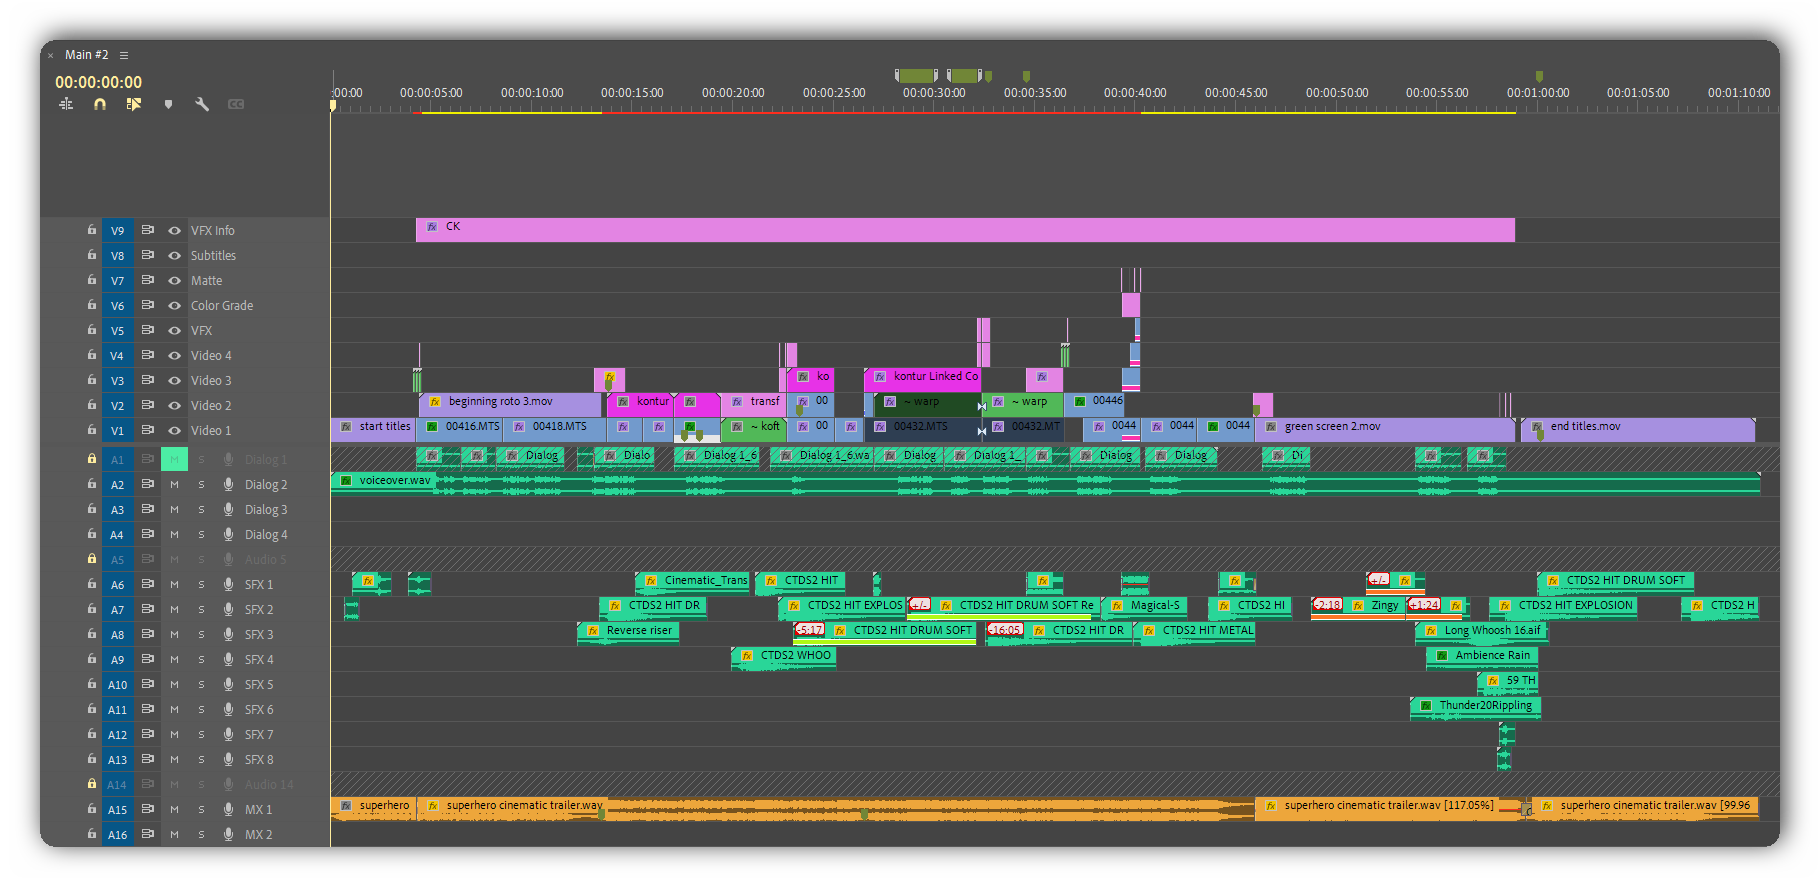
In this short article I am breaking down how homemade green screen shot was composed to look good [enough].
The video below was made as a test task for my SKB Kontur’s job application.
I was asked to think about the reasons behind my decision to become a video editor and shoot a short story. Not only I had to edit it, but also go through the entire video making process all by myself: scriptwriting and planning, shooting and even acting.
And I was shooting at home. With no additional lighting, using consumer grade camera. Tbh, you do not always need a top-notch equipment if you really feel like creating something.

Now to the fun part. Screenshot below shows how the shot looked originally.

Following video shows the keying process in After Effects.
I keyed myself out, applied Key Cleaner to make edges look better, added Spill Suppressor on Ultra settings. Then layered my background image behind.
Color corrected foreground: tweaked some brightness and contrast settings.
Next step was to make my face look as it really is on the location with all that neon illumination. To achieve that, I used Levels and tuned each color channel separately: red, green, blue.
Composed background using Camera Lens Blur, Grain and Noise.
As a final touch – it’ll start raining. I also added camera shake to the whole scene for additional realism.
In addition, I usually add some lighting effects such as optical flares in order to make the whole scene feel and look more alive.
As you can see, it’s always possible to make something decent out of nothing. That’s the beauty of our profession.
Enjoy!