While studying film editing in Industry Film School I was asked by a director’s course student to edit one of her short movies. The movie is about a young musician who struggles composing. His friend asks to substitute him playing piano for a ballet class. This is where our hero meets a girl. He likes her and she supports and inspires him. Now he is composing again.
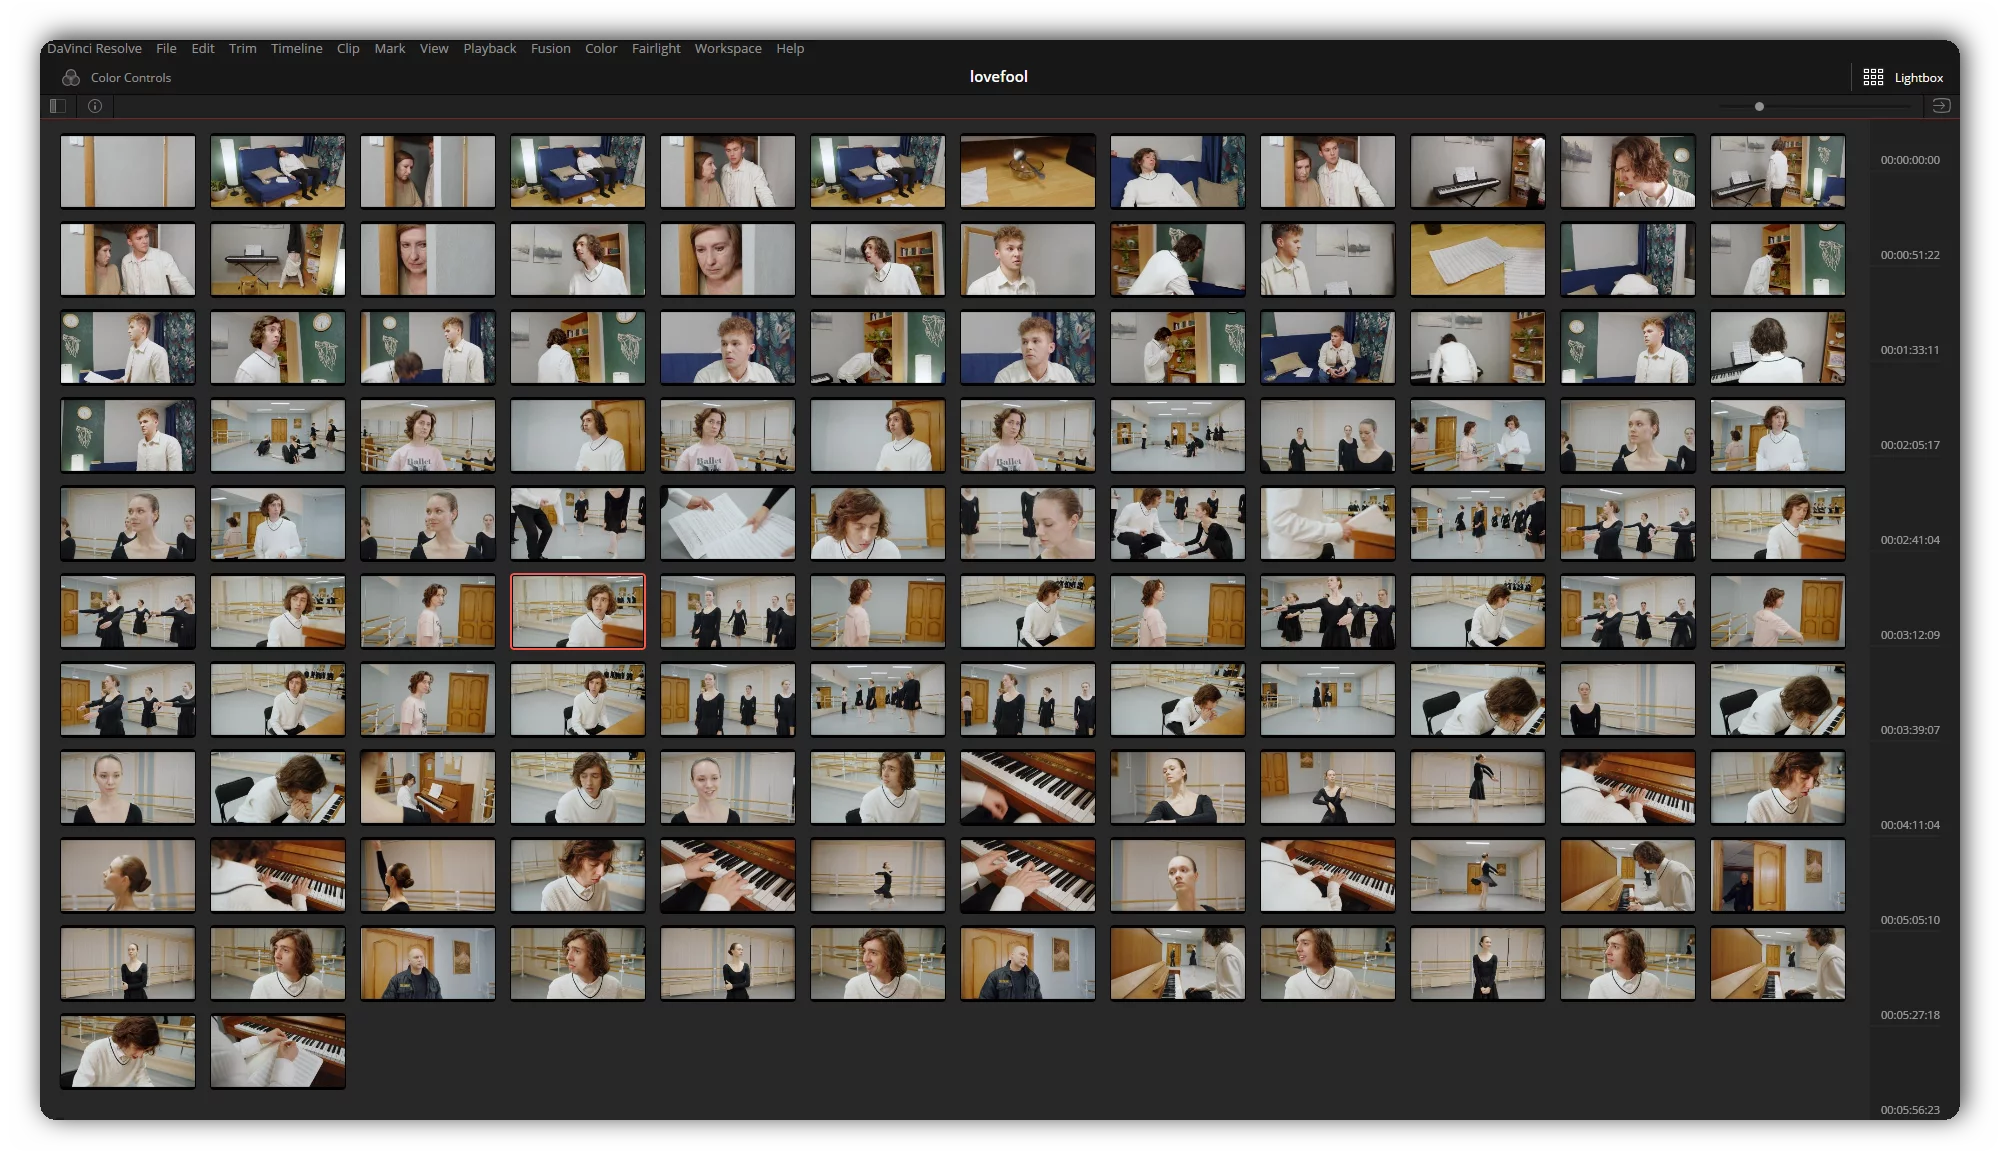
The short movie was shot with a single camera on two locations. My work also was to color grade it, clean voices and mix it with sounds, music. Below are screenshots of the process with explanation.
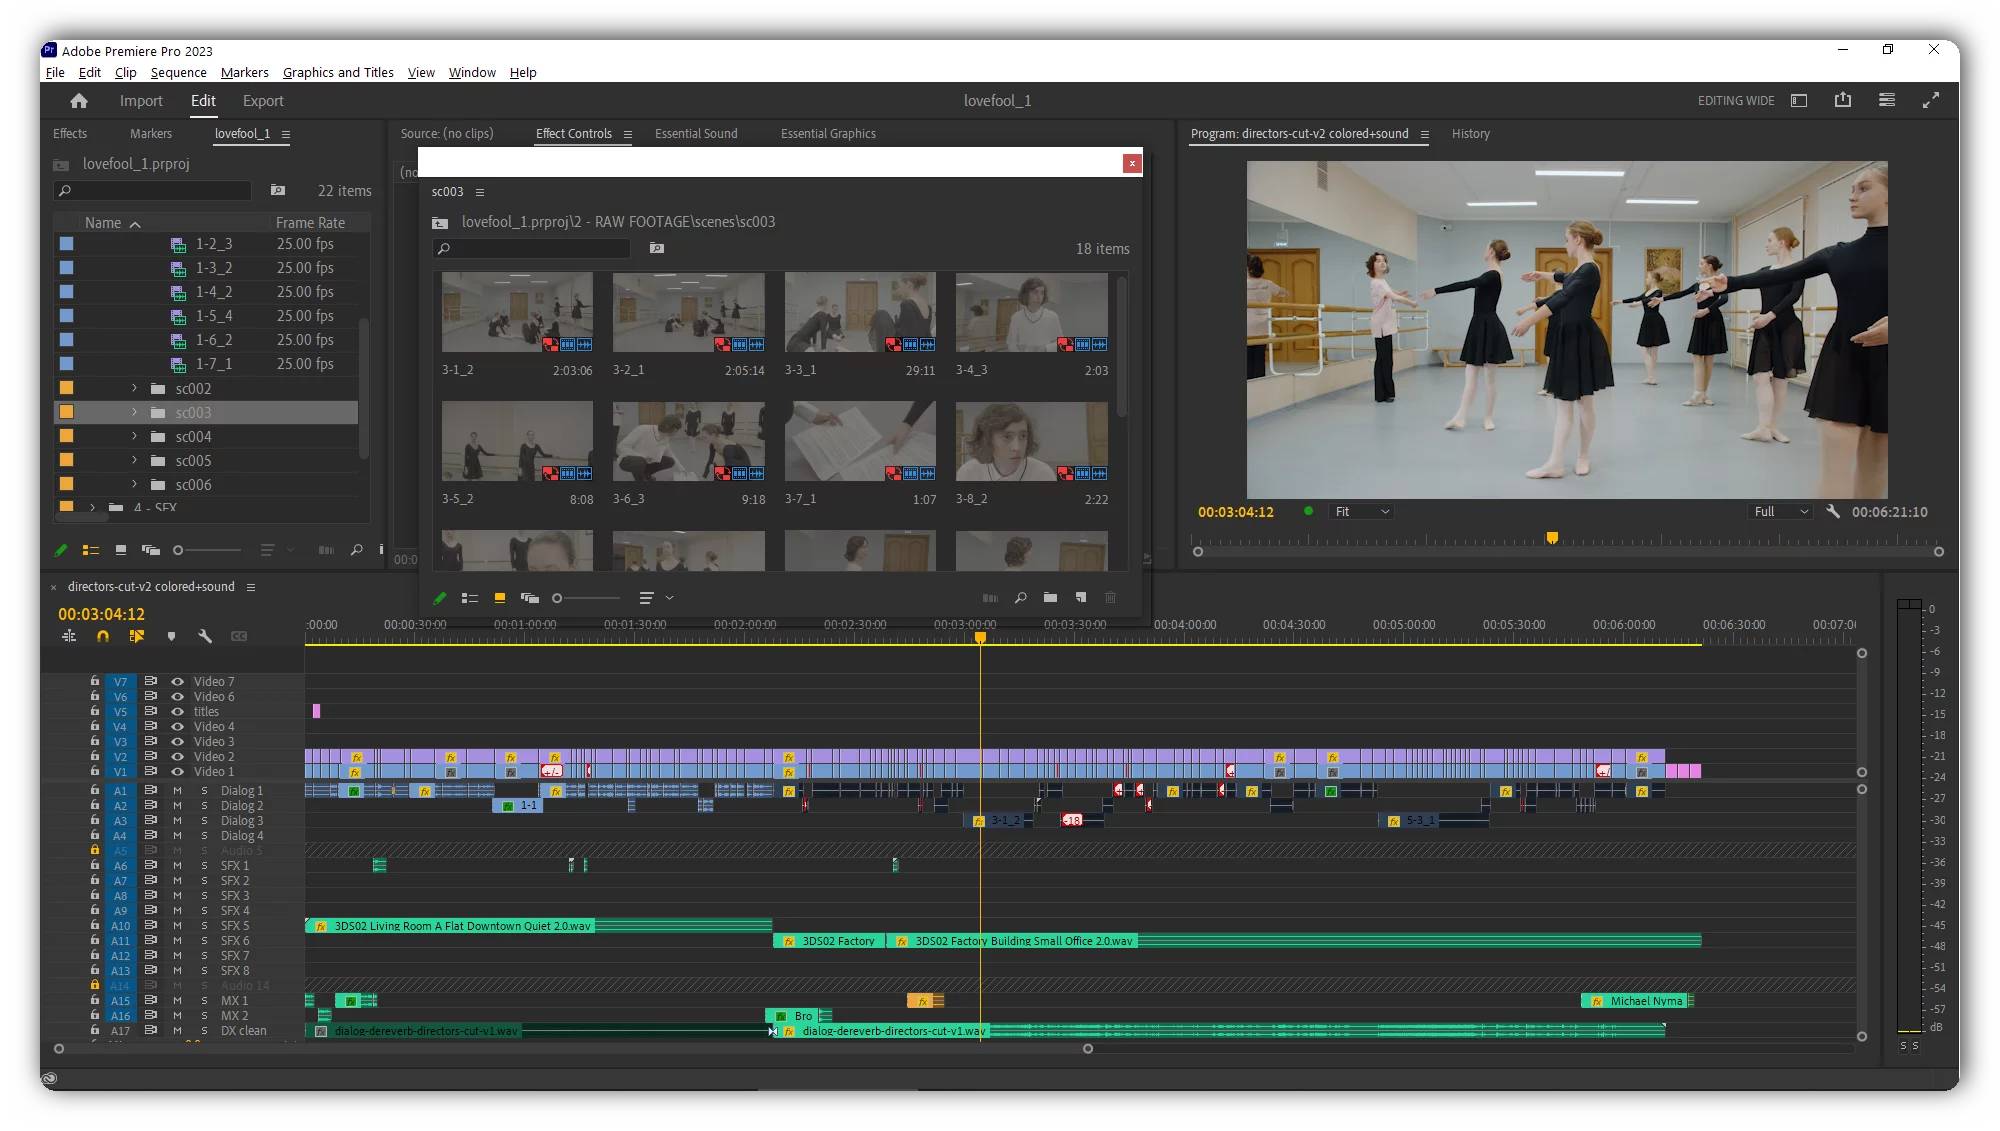
This is what the final movie looks like on a Premiere Pro timeline. On the V1 track are original files, on the track above are the same after color grading was done. There is also original dialog on first three audio tracks (A1-A3) and it’s cleaned version on A17. Recording clean sound in the ballet studio was a hard task because of the strong echo/reverberation which I was able to clean up on post.
Also there are couple of SFX’s on A6 and room tones on A10 and A11. They are not from the original recording but those that I found suitable myself. Musical parts are on tracks A15 and A16.
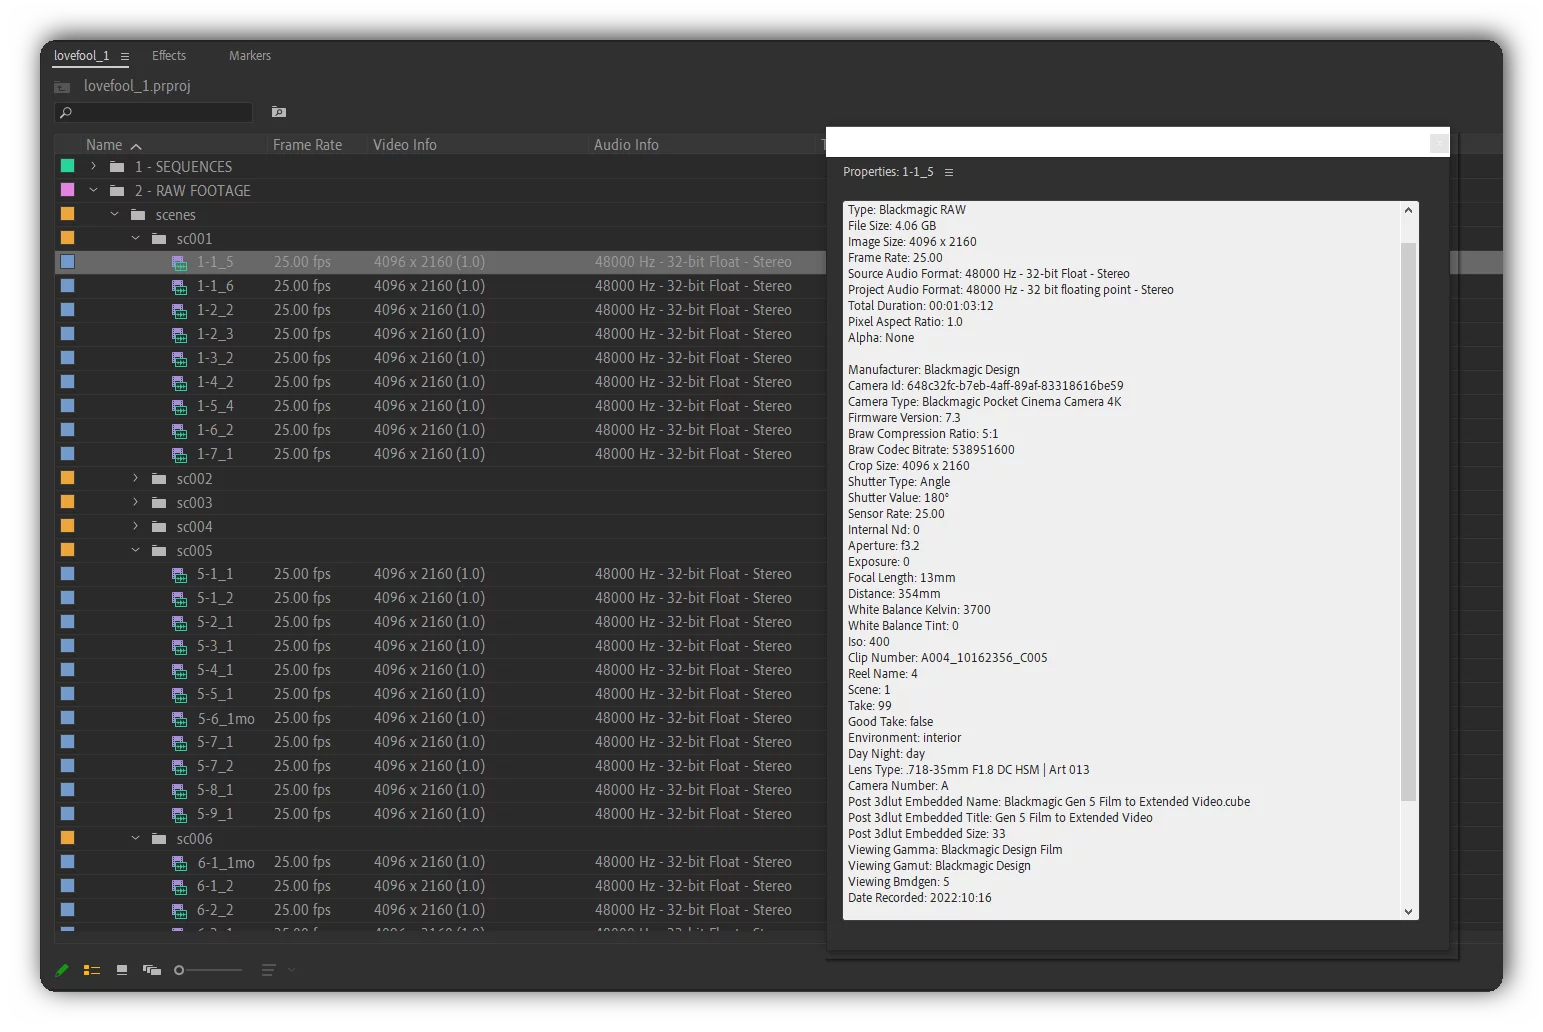
The short movie was shot on a Blackmagic Pocket Cinema 4K Camera with 1.9:1 aspect ratio (4096×2160). Raw material contains 6 scenes in total. Blackmagic cameras make .braw files which are not natively supported by Adobe software. But using Blackmagic braw plugin for Premiere was a breeze. Main camera settings are on the screenshot below.
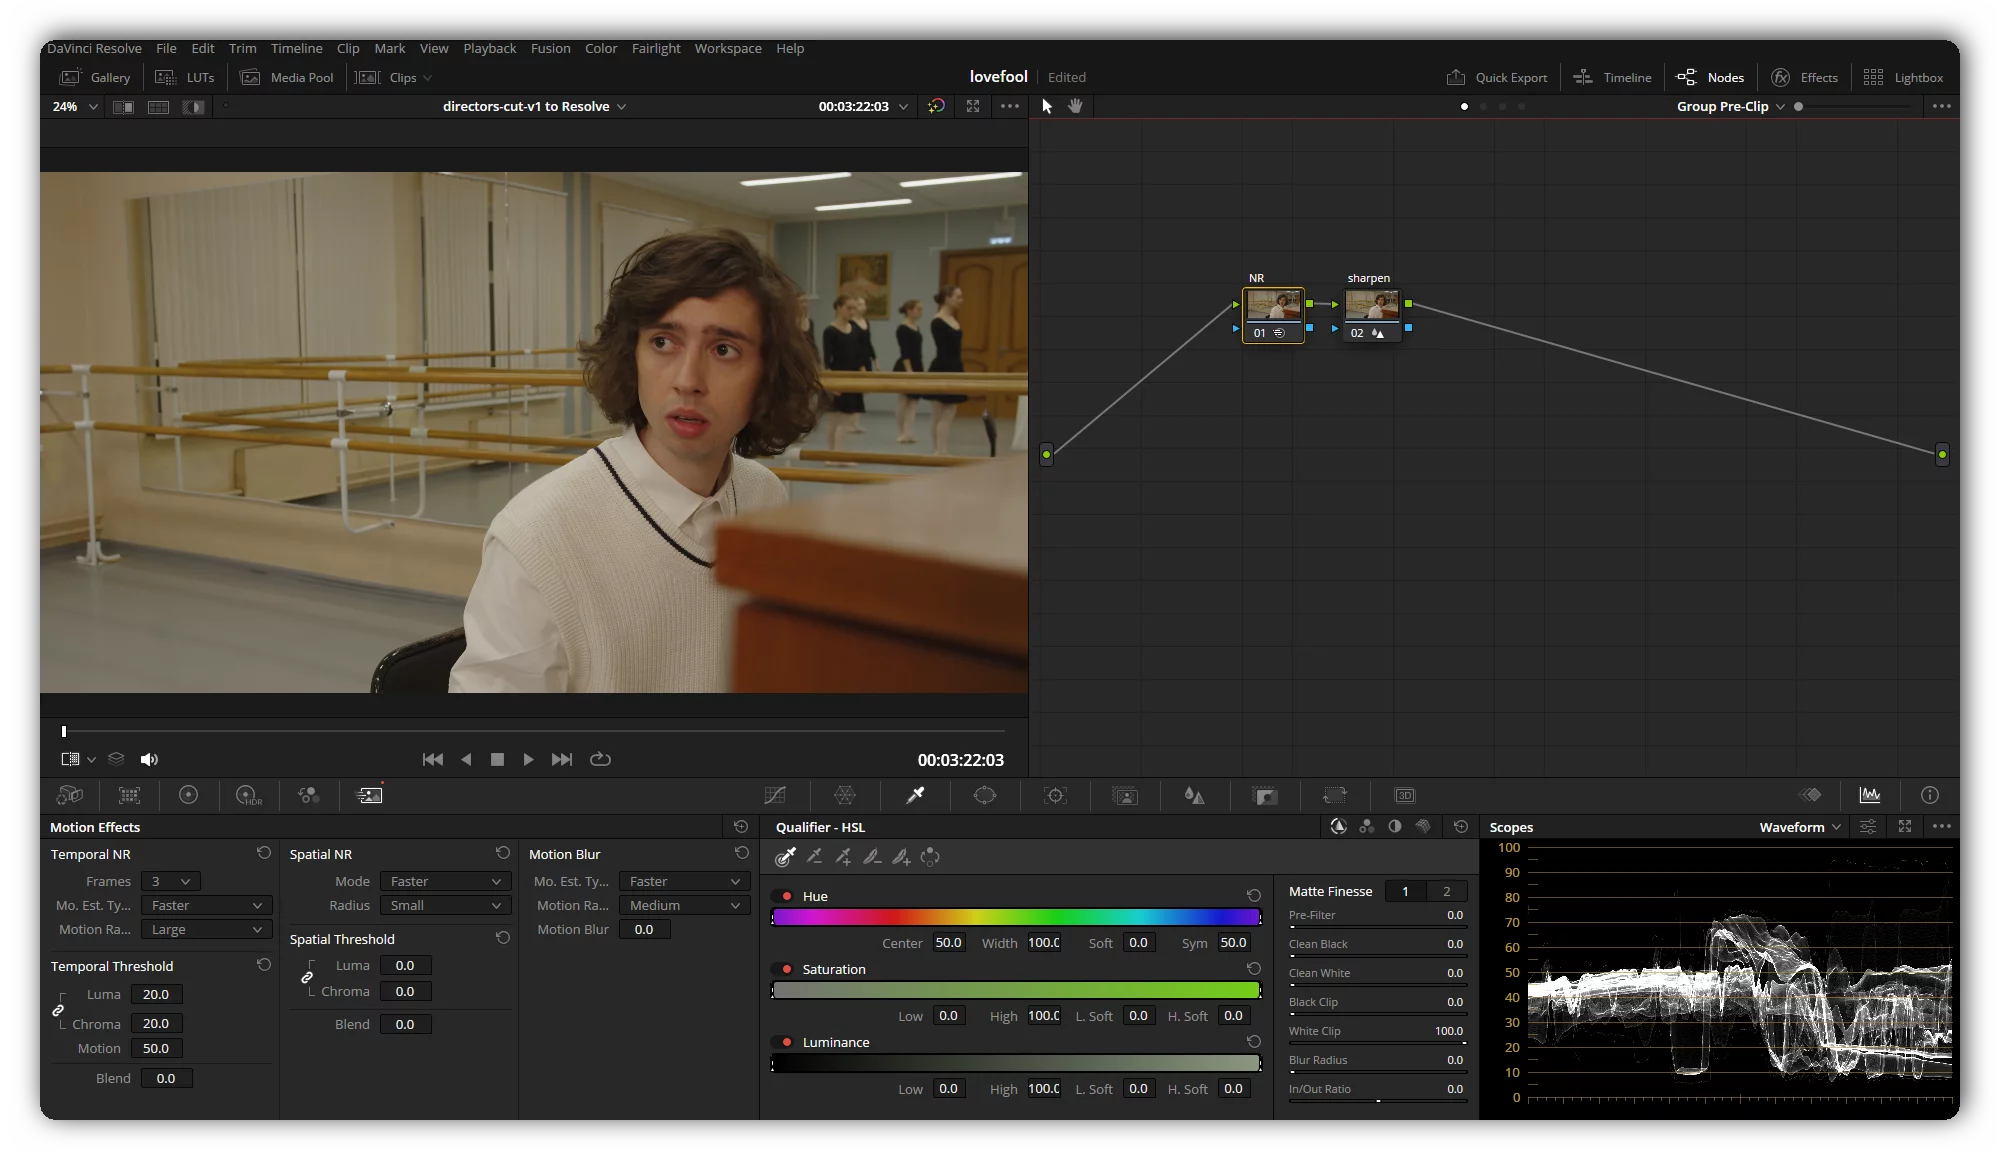
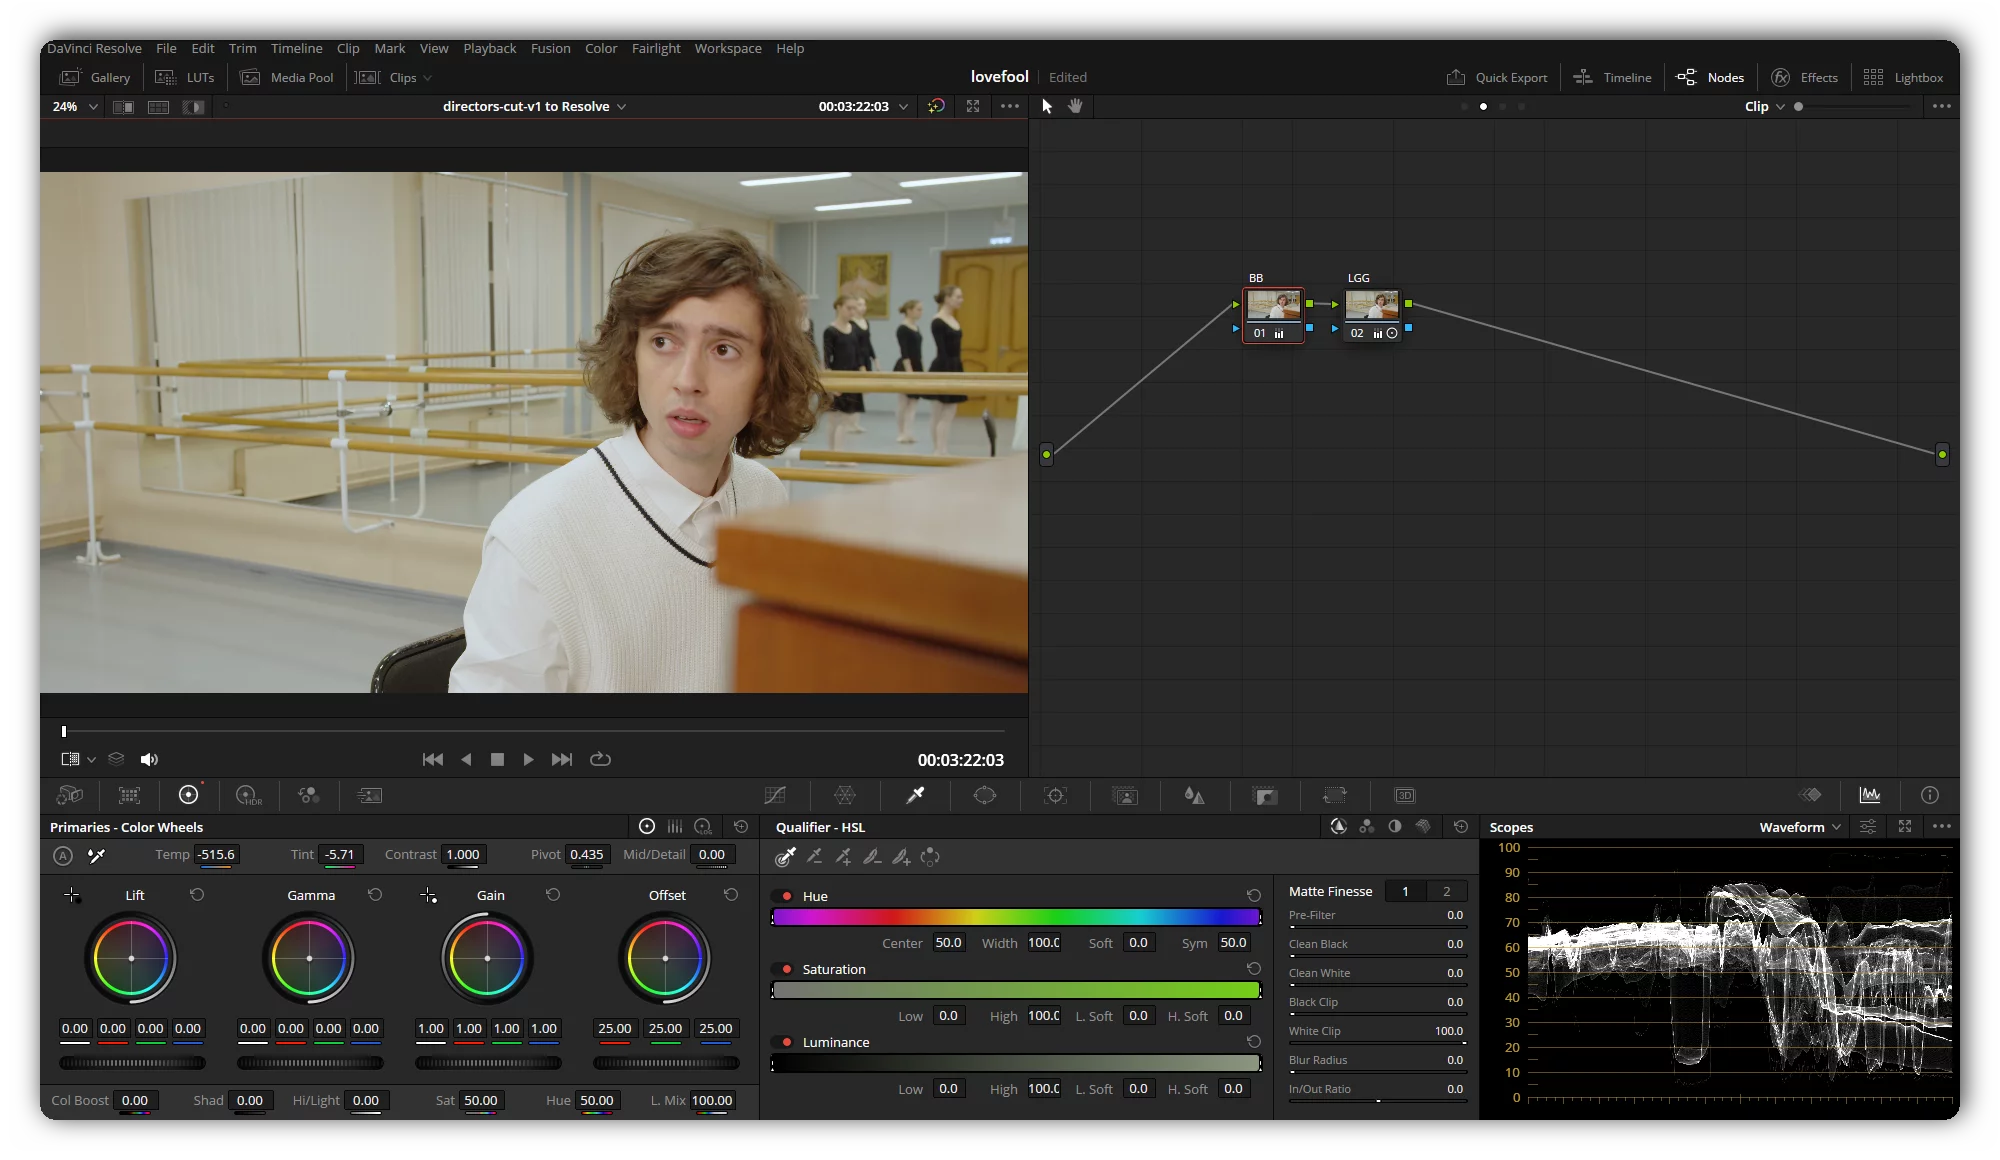
I wanted the movie to look clean and bright visually, so I also made some simple color corrections and color grading in DaVinci Resolve. I divided clips into two groups: each of them contained footage from a corresponding scene. On a Pre-Clip stage the noise reduction was applied. And some little sharpening on a node after.
Usually, I really like the way Blackmagic cameras shoot because it takes just couple of additional strokes on primary color correction stage to make a shot look right. This project was no exception. The only thing I had to correct was white balance and exposure (with lift-gamma-gaine sliders) on every shot.
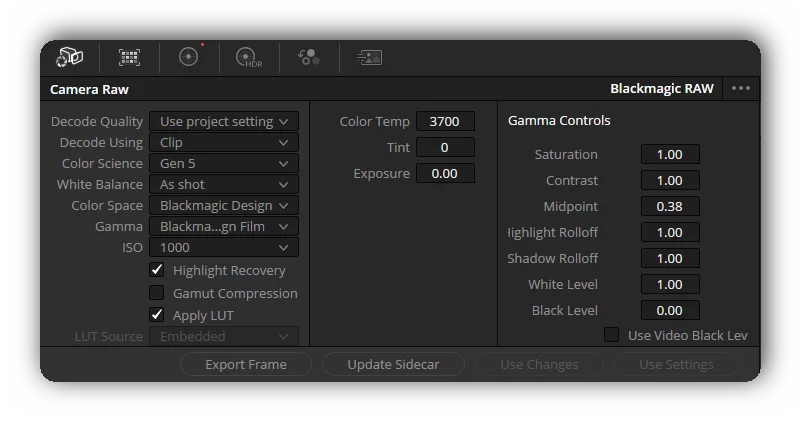
Since there are also Camera Raw settings in DaVinci I was able to compensate for some shot exposure straight from it with ISO settings: it was changed from the default 400 to 1000 to make shots look as bright as I needed them to be. Also, Highlight Recovery and Apply LUT are checked, Gamut Compression is unchecked.
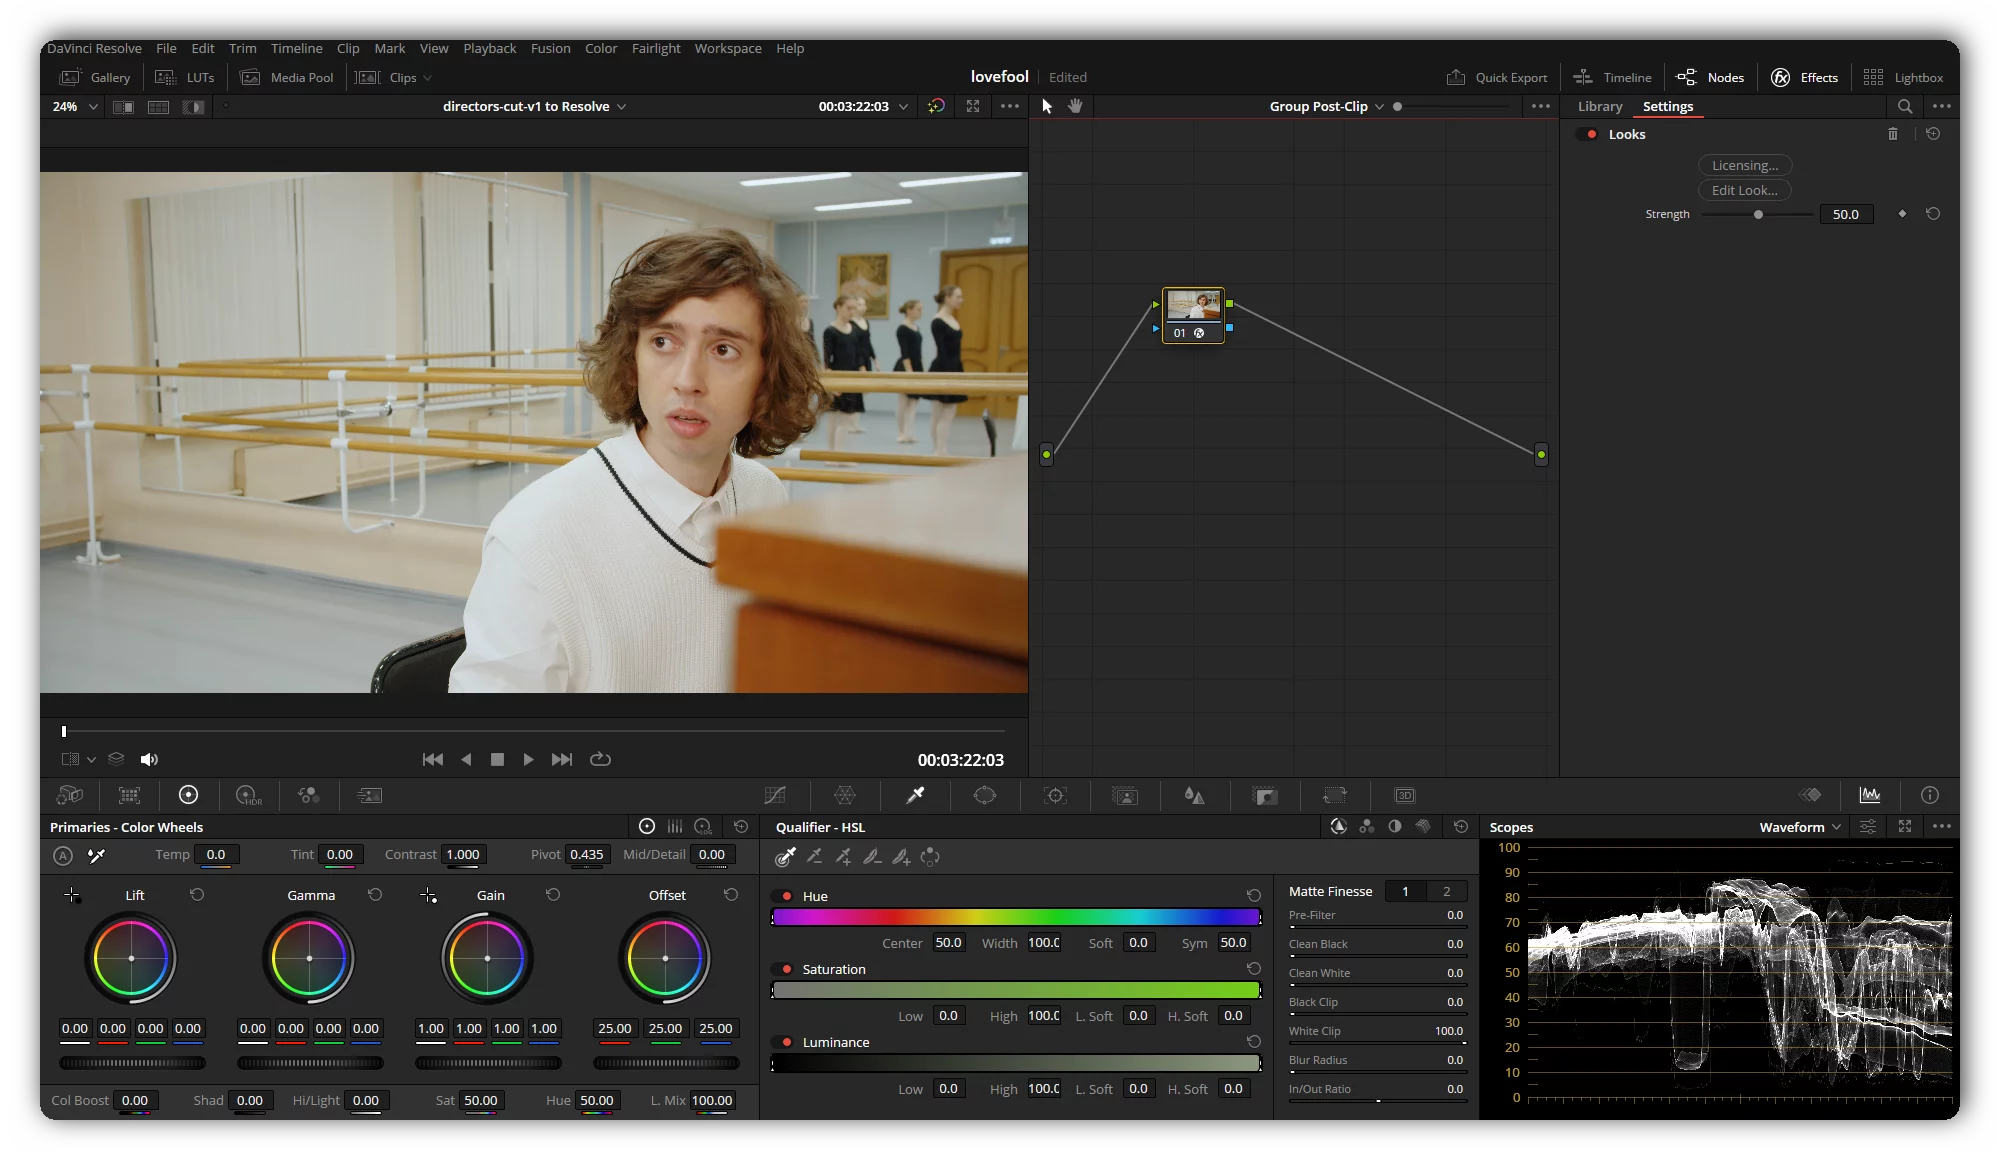
As a final stage, I added color grading node to Group Post-Clip. To make the process faster, I cheated and used Magic Bullet Looks preset with corrections to my personal taste. Overall, some contrast, saturation and temperature were modified, soft lense vignette added.
Comparison between original footage and the final grade shown in the screenshot below.

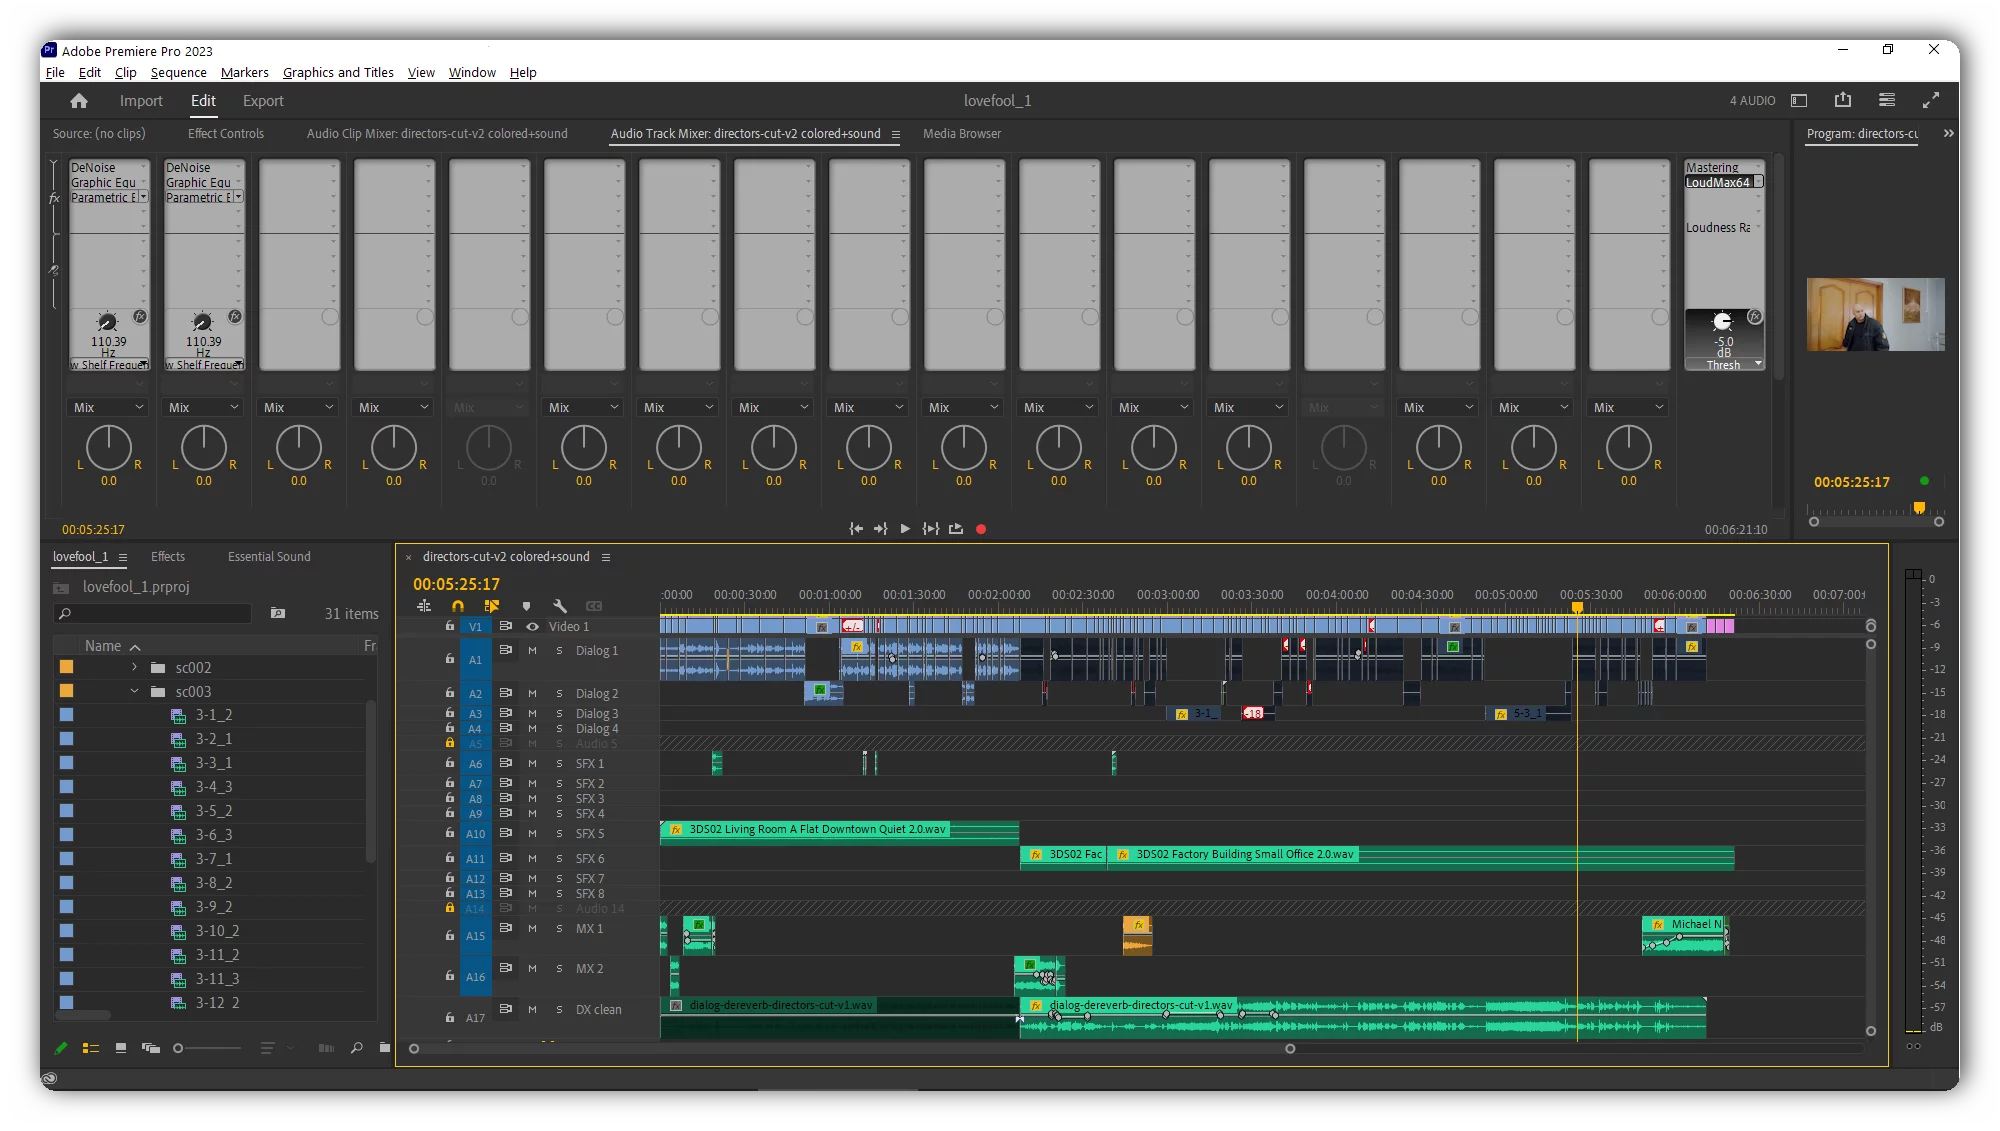
I denoised dialogue tracks, removed unwanted top and bottom frequencies with Graphic Equalizer and increased voice brightness using Parametric Equalizer. Then added Mastering effect to the main bus to make everything sound a little sharper; measured overall loudness with Loudness Radar; corrected final volume with the LoudMax plugin also setting it as a limiter with -3.0db top. Dialogue from the second scene was dereverbed using external software and placed on a separate A17 track, so no corrections from A1 and A2 were unnecessarily applied to it. I also keyframed volume on dialog and musical tracks so they blend better when it’s needed.
Nowadays, I enhanced my sound mixing process and use more advanced EQ’s plugins, noise reduction and voice cleaning tools (such as iZotope), VST compressors.
It was one of my first collaborative projects on a short movie, so I was really inspired by it at the time. Of course, it is not some big a** movie, but testing skills I’ve learned during my educational process was good and helped me a lot in my later projects.